- Windows error code 0x80070643 first appeared in the KB5034441 update on Windows 10.
- It’s a fatal error that can be fixed by increasing the space in Windows recovery.
- You can fix this error by restarting your PC, installing a newer .NET version, or if nothing works, by re-installing Windows.
Microsoft Windows and error codes are a never-ending affair. If you’re a long-time user of the operating system, you may have encountered a few errors in your lifetime. However, one of the advantages of using an extremely popular operating system is that many other users may have already found fixes to a particular problem, which brings us to a common error code 0x80070643 that usually occurs when updating Windows. Here’s how to fix error 0x80070643.
Method 1: Restart Your Computer
This issue may occur because of a Windows update, and it prevents you from installing a new update. So, you might want to check if a quick restart will fix the issue. The error code 0x80070643 is considered a “fatal error” but restarting your PC could solve the issue.
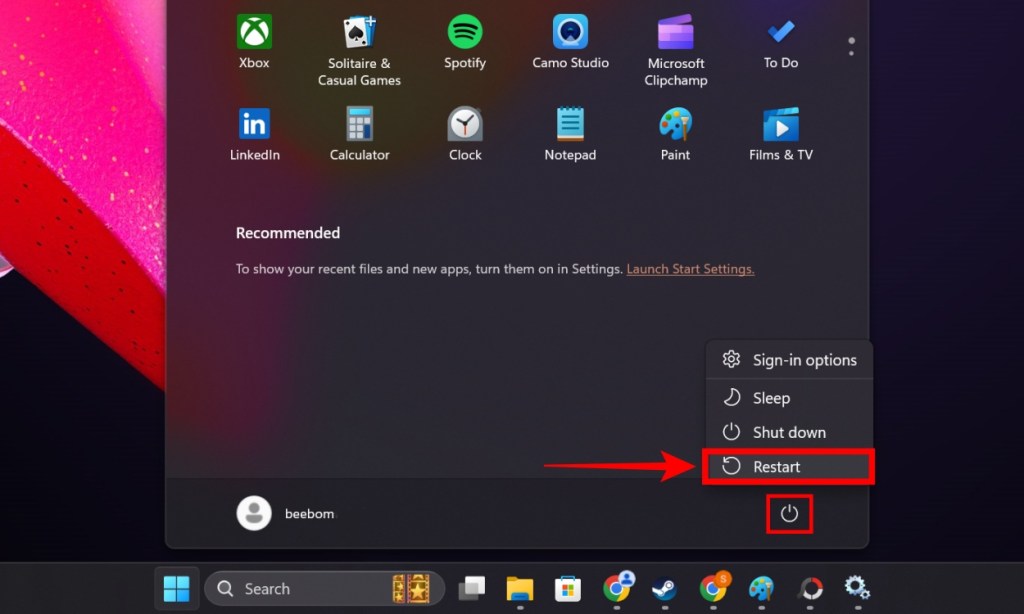
To restart your Windows PC, go to Start > Power button > Restart . Finally, go to Windows Update and try updating your PC. This should hopefully fix the issue.
Method 2: Install the Latest .NET Framework
The .NET framework allows you to run apps and services on Windows. One of the reasons for the occurrence of error 0x80070643 is if .NET is corrupt. You could troubleshoot to make it run again, but we recommend installing the latest .NET version. To do so:
- Go to the official .NET downloads page and download the latest .NET version.
- Double-click on the installer to start the installation process.

- Once done, restart your Windows PC (using method 1) and try updating it again.

Method 3: Extend the Recovery Partition
The sure-shot way of fixing the 0x80070643 error recommended by Microsoft is by resizing the WinRE partition. “WinRE” stands for Windows Recovery Edition, and the error 0x80070643 is first primarily caused due to the KB5034441 update on Windows 10.
The method involves resizing your Make sure to follow each step carefully.
Shrinking OS Partition and Deleting Recovery
- Open the command prompt as administrator and run the command reagentc /info .
- If WinRE is enabled, you should see the Windows RE Status as Enabled .
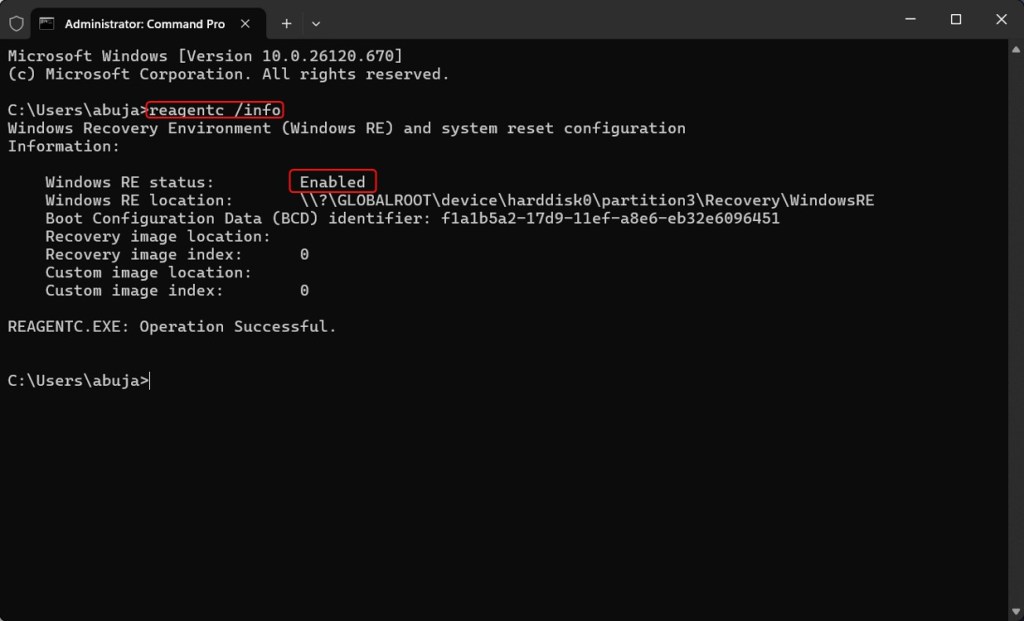
- We need to disable WinRE which can be done using the command reagentc /disable
- Next, we need to shrink your existing OS partition to combine that space with the WinRE partition.
- Run diskpart and then run list disk . Select the disk the OS is on by using sel disk
command. - Then run list part to see which partition the OS is on. Alternatively, you can also check the size of your C drive to determine your OS partition’s size.
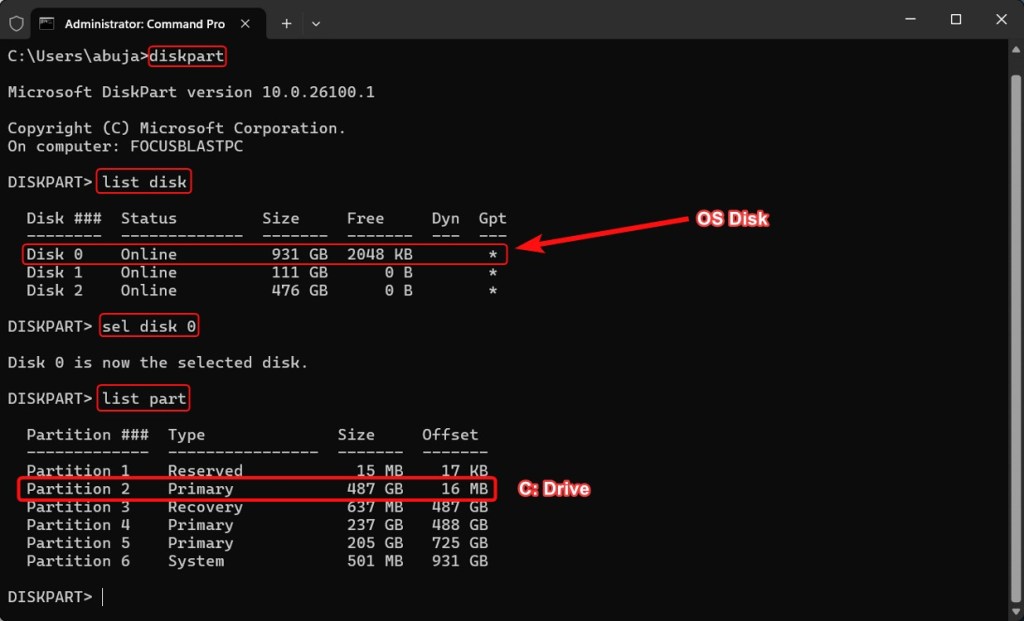
- Select your OS partition by running sel part
. - Run the command shrink desired=250 minimum=250 . This will shrink your OS partition by 250 MB and create space.
- Then select the WinRE partition, AKA the partition with the label Recovery , using the command sel part
. - Delete the partition using the command delete partition override .
Merging and Creating a New Partition
- Check if your disk is formatted in MBR or GPT by running list disk . If the disk is starred under the GPT column, it is formatted in the same type.
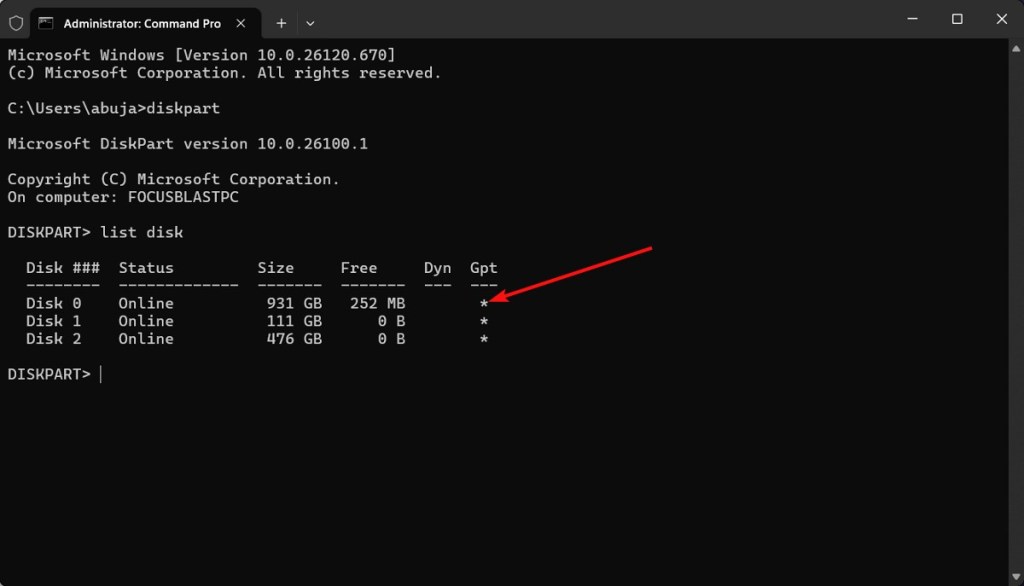
- If your disk is in GPT, run the command create partition primary id=de94bba4-06d1-4d40-a16a-bfd50179d6ac .
- Then run the command gpt attributes =0x8000000000000001 .
- If your disk is MBR, run the command create partition primary id=27 .
- Format the partition using the command format quick fs=ntfs label=”Windows RE tools”
- Confirm if the new partition is created by running list vol .
- Exit diskpart by executing the command exit .
- Re-enable WinRE by running reagentc /enable
- Run the command reagentc /info again to confirm if WinRE is enabled.
Method 4: Reinstall Windows
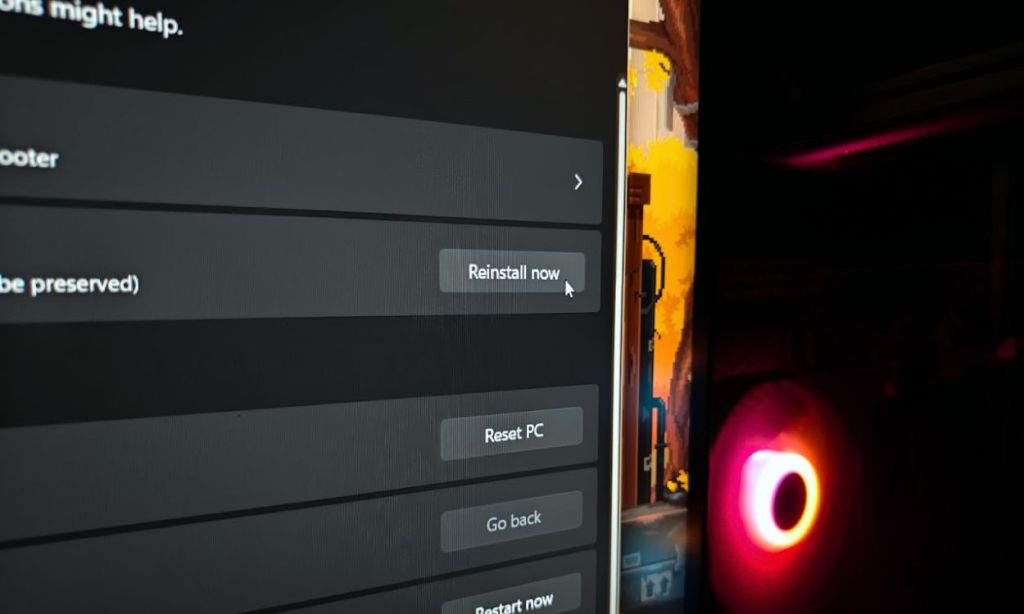
If none of the above methods worked for you, there’s sadly no other choice than reinstalling Windows without losing data. We have a detailed guide on how to do just that; TL;DR, you can do it using built-in Windows options or the Windows Media Creation tool without losing your data.
Abubakar covers Tech at Beebom, with his passion for technology tracing back to 2011 when he received a Dell Inspiron 5100 as a gift. He’s also a passionate advocate for the right-to-repair movement, believing in empowering users to maintain and extend the life of their devices. Outside the tech world, he enjoys watching anime and exploring his newfound enthusiasm for Japanese cars. In his free time, you’ll often find him immersed in Genshin Impact or researching his next gadget purchase. Before joining Beebom, he contributed to leading publications like Android Police, How-To Geek, and Fossbytes.
Add new comment
Name
Email ID
Δ